 ~
~POSMan
Subsidiary
1. Create & Update Subsidiary
On the posmansuite.com portal, go to (Služby -> POSMan) -> Subsidiary in the top menu to the Create & Update Subsidiary section.
1.1 Subsidiary
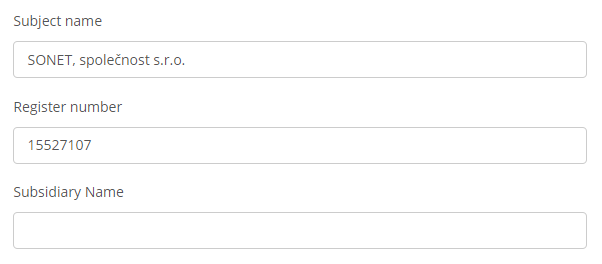
Here we create subsidiaries of an existing subject. We select the subject either by entering the Subject name or the value of the Register number (ICO), while the second data is always filled in automatically. In the third field, we name the subsidiary being created.
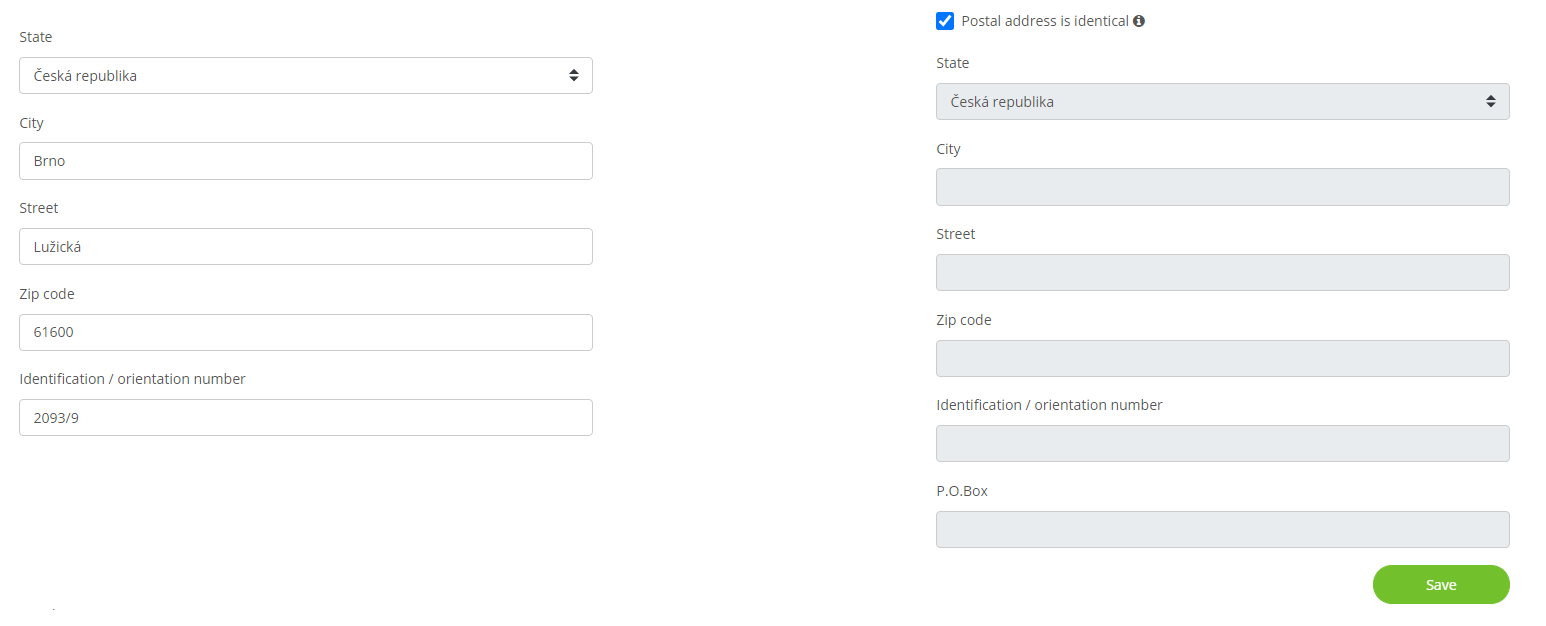
~Similar to creating an subject, enter the physical address and postal address and confirm with the Save button.
A message „Subsidiary successfully created!“ informs us about the successful entry of the subsidiary. You will also be automatically redirected to the Subsidiary Detail page, where you can view detailed information about the subsidiary.
1.2 Contact point
A merchant (subject) can have N physical subsidiaries and these subsidiaries can then have N contact points. E.g. there can be contact points at one subsidiary: reception, restaurant, car park, etc. A terminal is therefore installed at a physical subsidiary and contact point.
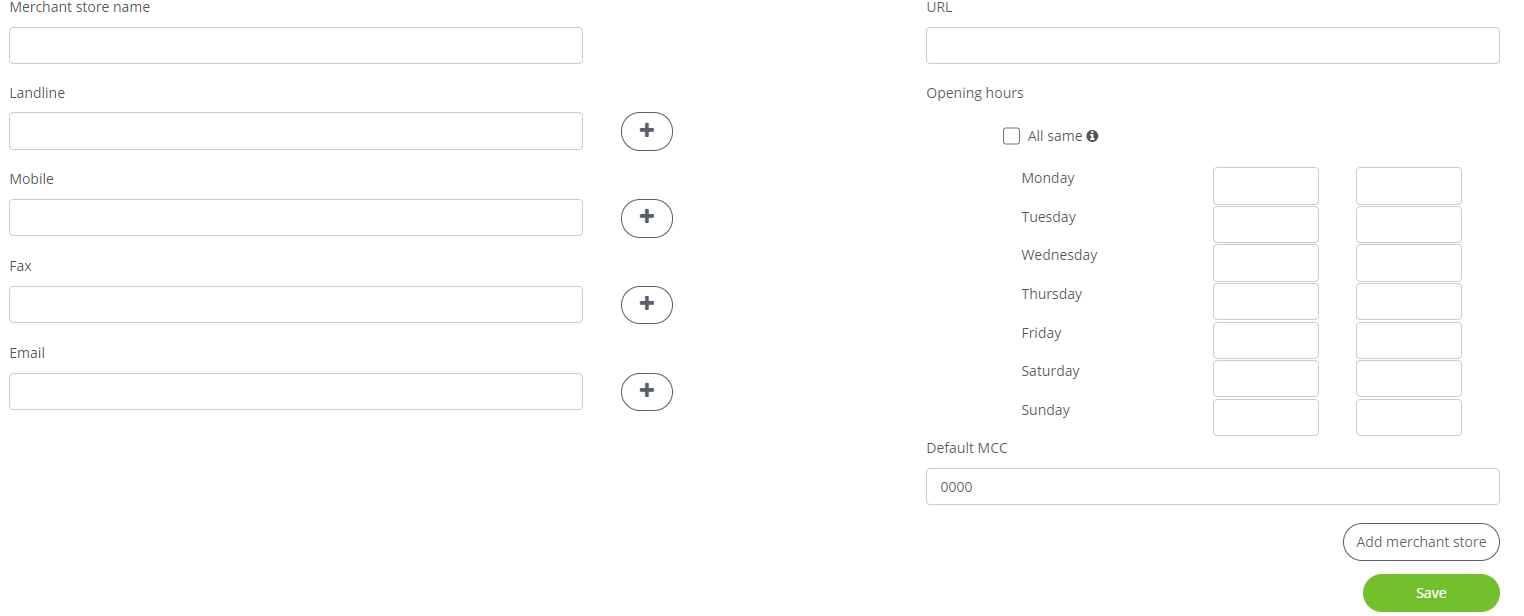
Below the subsidiary creation form, there is another form for adding contact points. We can add this information:
- Merchant store name
- Landline
- Mobile
- Fax
- URL
- Opening hours
- Default MCC
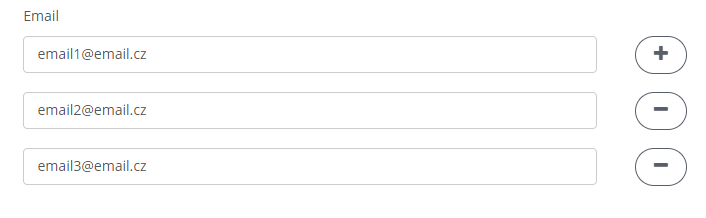
Press the + button to add the option to enter another value, for example, if you want to enter multiple email addresses or phone numbers to one place. Use the - button to remove the value.
The Add merchant store button displays an additional form for filling in another contact point. You will save all filled in contact points only after clicking on the Save button below the form.
2. Subsidiary Overview
Similar to the Subject Overview, an overview of subsidiaries can be displayed. It is possible to display more fields for filtering using the Filters button. Additional filters can be hidden with the same button.
You can filter in the list of subsidiaries using the following items:
- Subject name
- Register number
- Subsidiary name
- Municipality name
- Only active
Call up the selection by pressing the Filter button, on the contrary, use the Clear filter button to return the table to its original state.

Records corresponding to the specified filters can be found in the table, and we learn their following values:
- Subject name
- Register number
- Subsidiary name
- Street
- Municipality name
- ZIP code
Selected records can also be exported to Excel format using the Export XLS button.
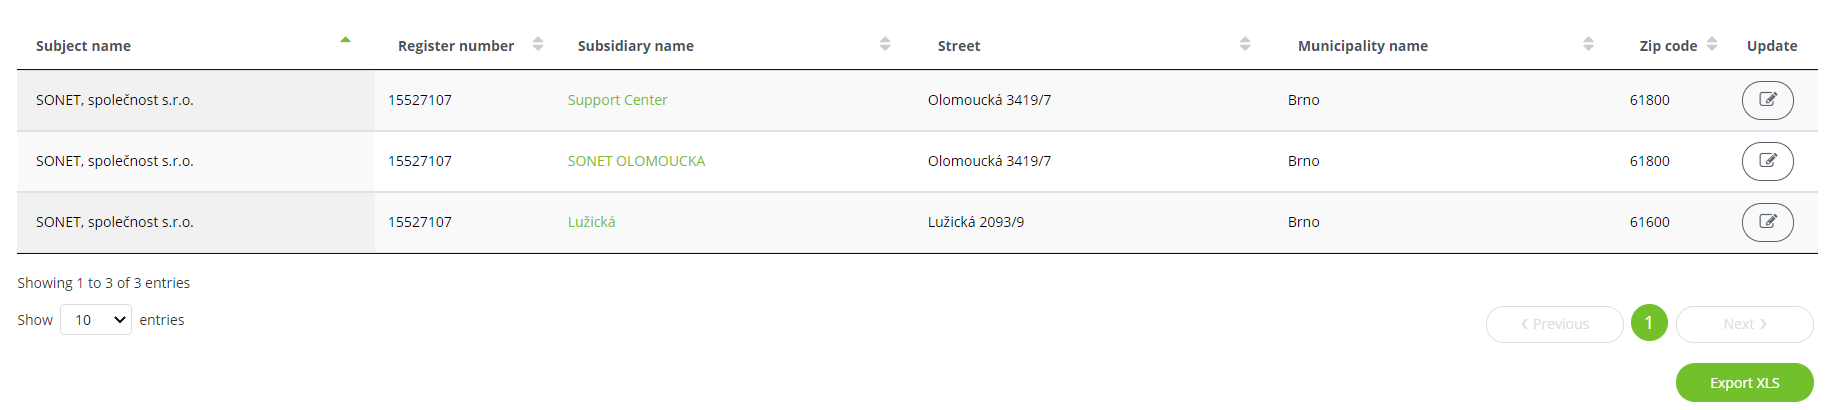
Click on the icon in the Update column to go to the editing of the subsidiary.
For each listing, you can click a value in the Subsidiary name, column to open a page with details about that subsidiary.